FacePOS Payment Gateway Integration Guide
Integrate the FacePOS payment gateway with your application using the following steps. Each section includes visuals, API usage, and copyable code snippets.
🥇 Step 1: Login to FacePOS
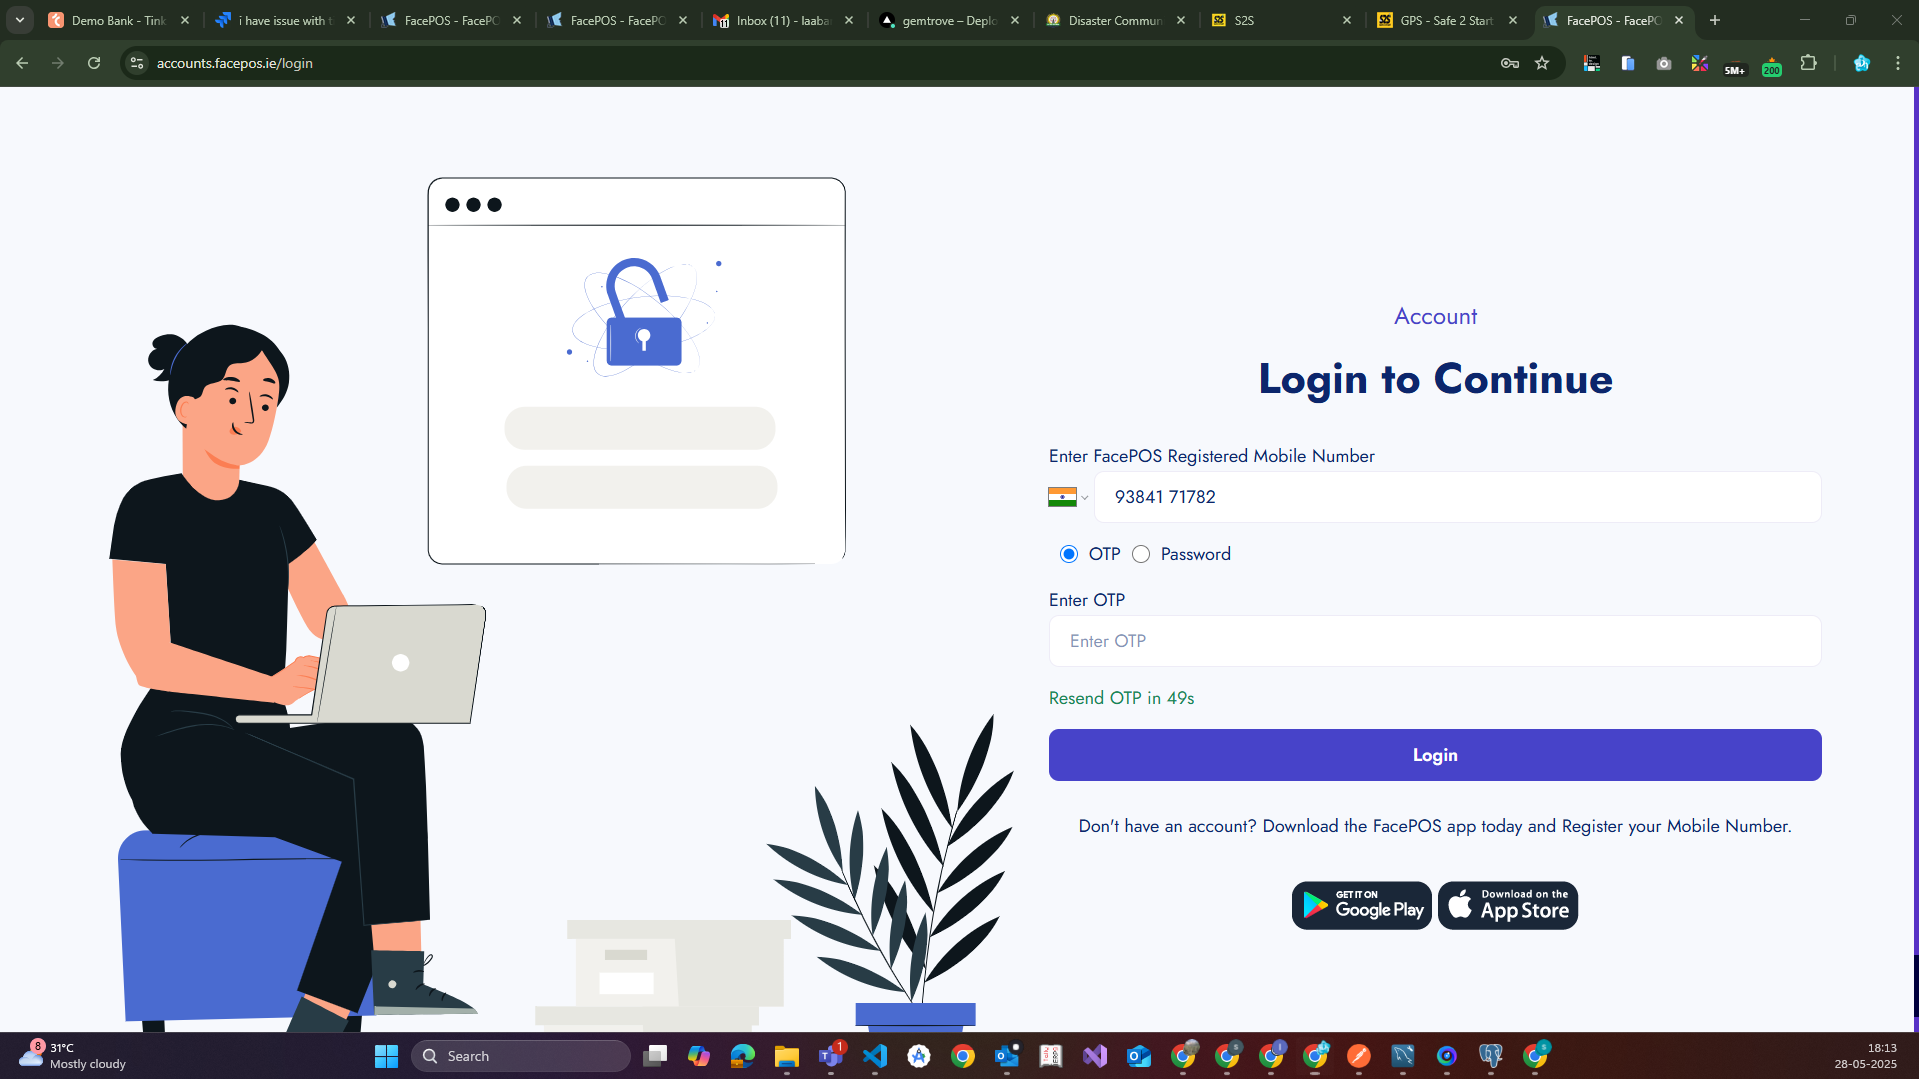
- Visit FacePOS Login
- Enter your registered mobile number
- Choose your preferred login method:
- OTP: Select “OTP”, enter the received OTP
- Password: Enter your FacePOS password
- Click Login to proceed
📊 Step 2: Access the Dashboard
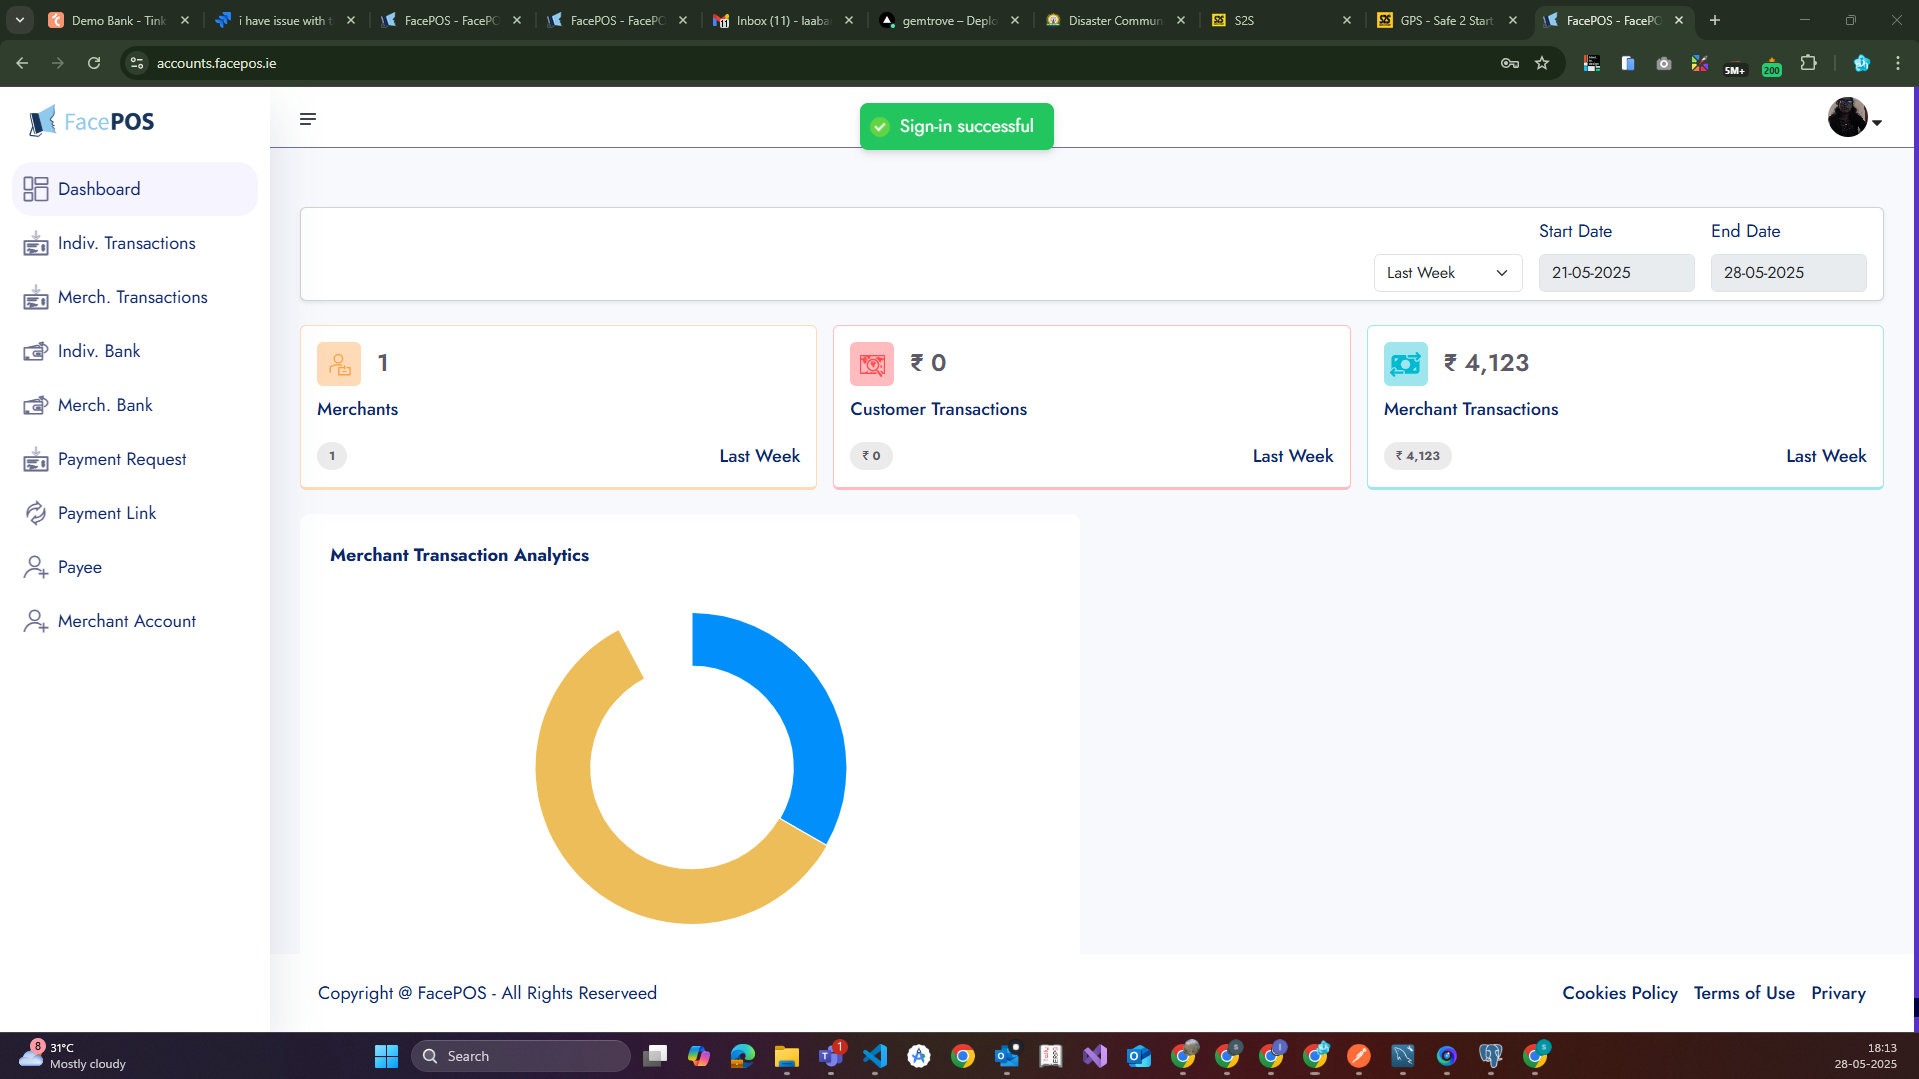
After successful login, you’ll reach the Dashboard where you can view:
- Individual & Merchant Transactions
- Bank Transfers
- Payment Requests & Links
- Payee and Merchant Account Info
- Analytics of your transaction history
🧾 Step 3: Merchant Management
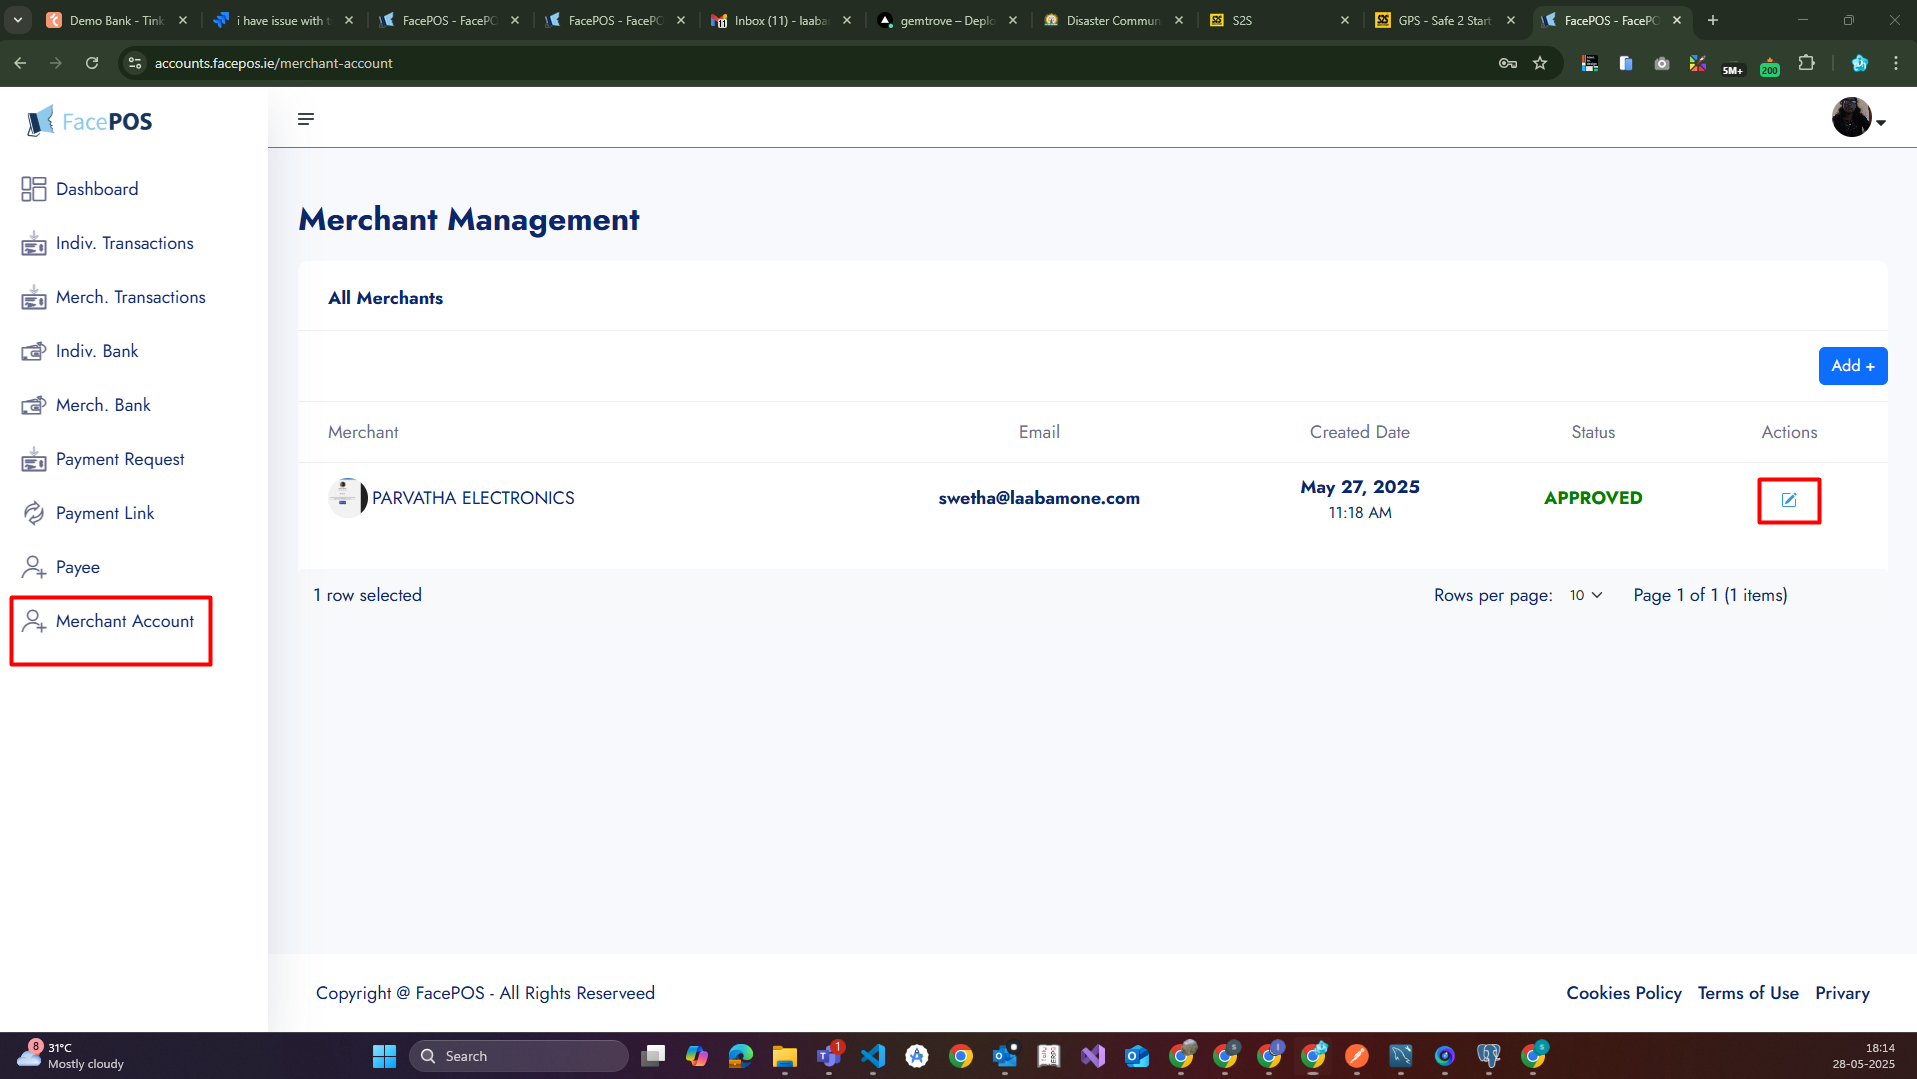
Navigate to Merchant Management to:
- View merchant profile (Name, Email, Created Date, Status)
- Edit merchant details
Click Edit Merchant to begin changes.
🔐 Step 4: Generate API Credentials
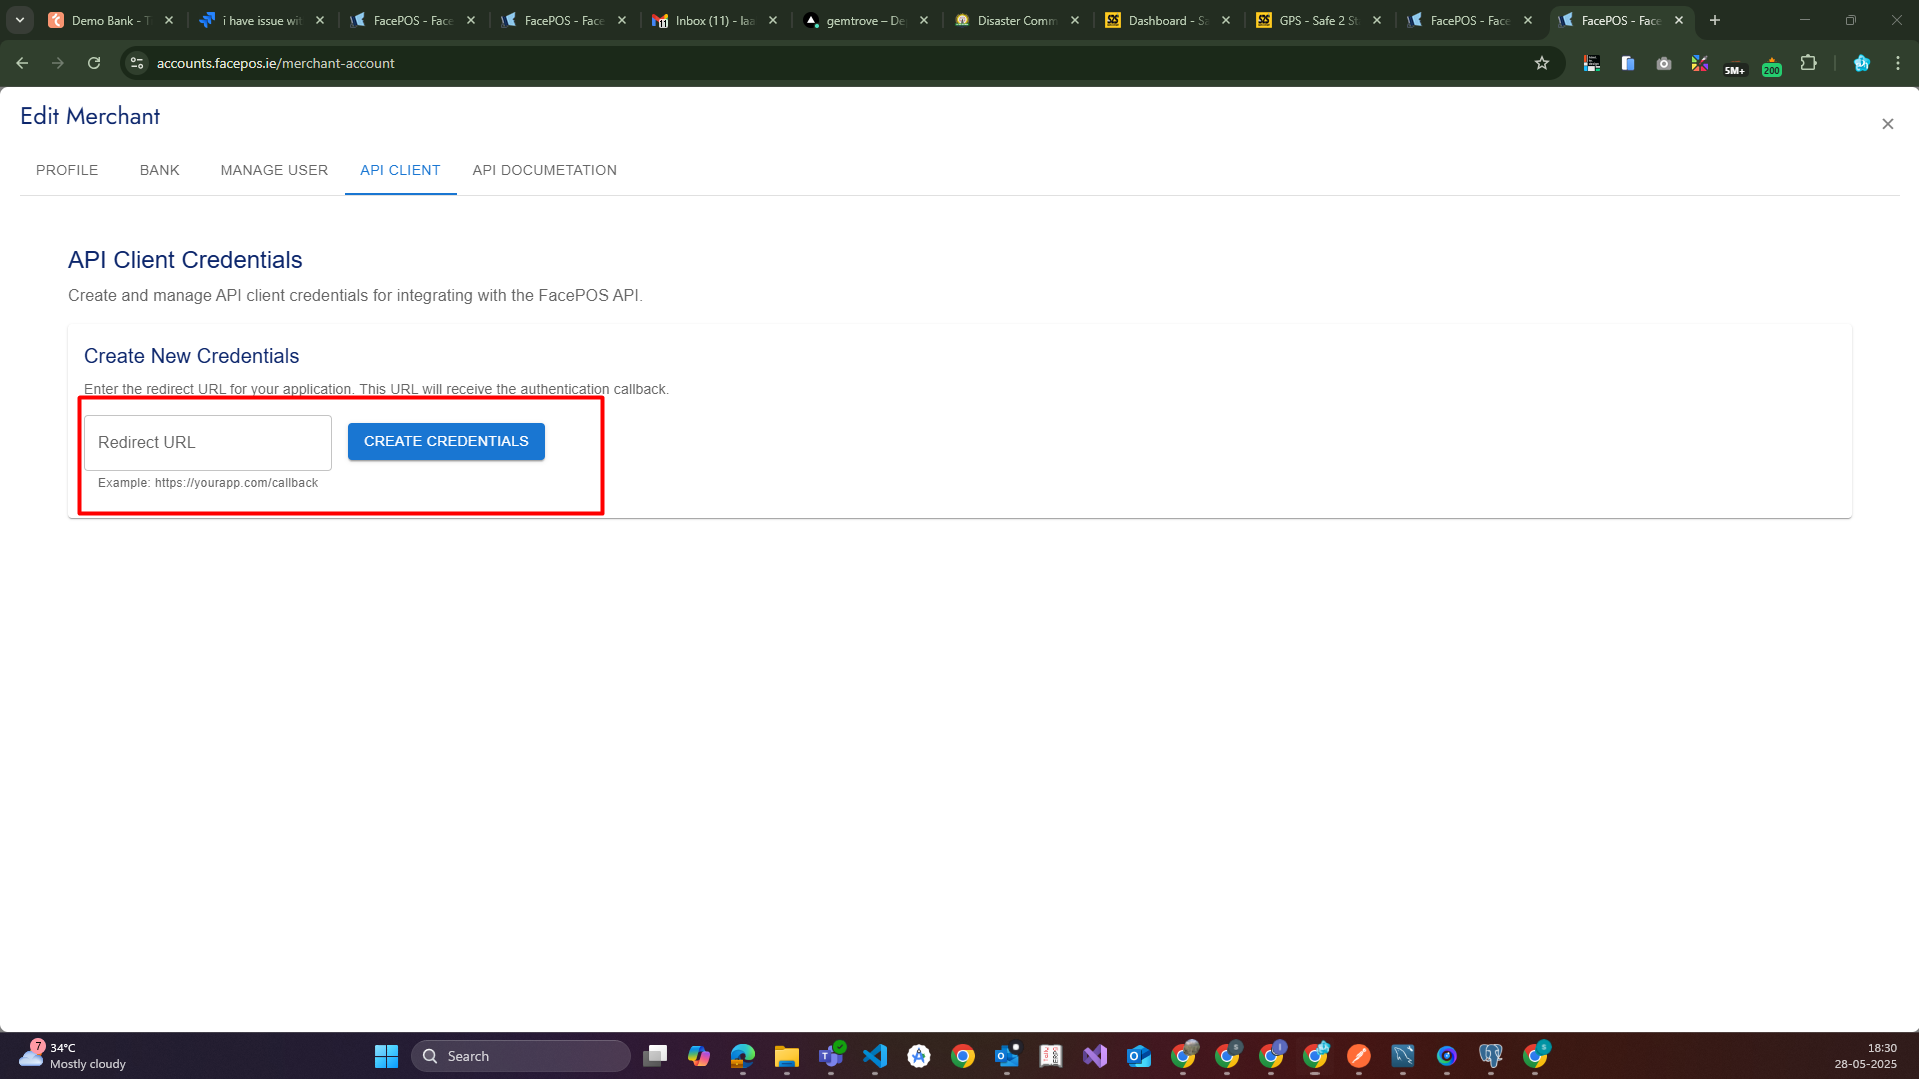
➤ Go to API CLIENT Tab
-
Enter your Redirect URL
Example:https://yourapp.com/callback -
Click the Create Credentials button.
➤ Save the Generated Credentials
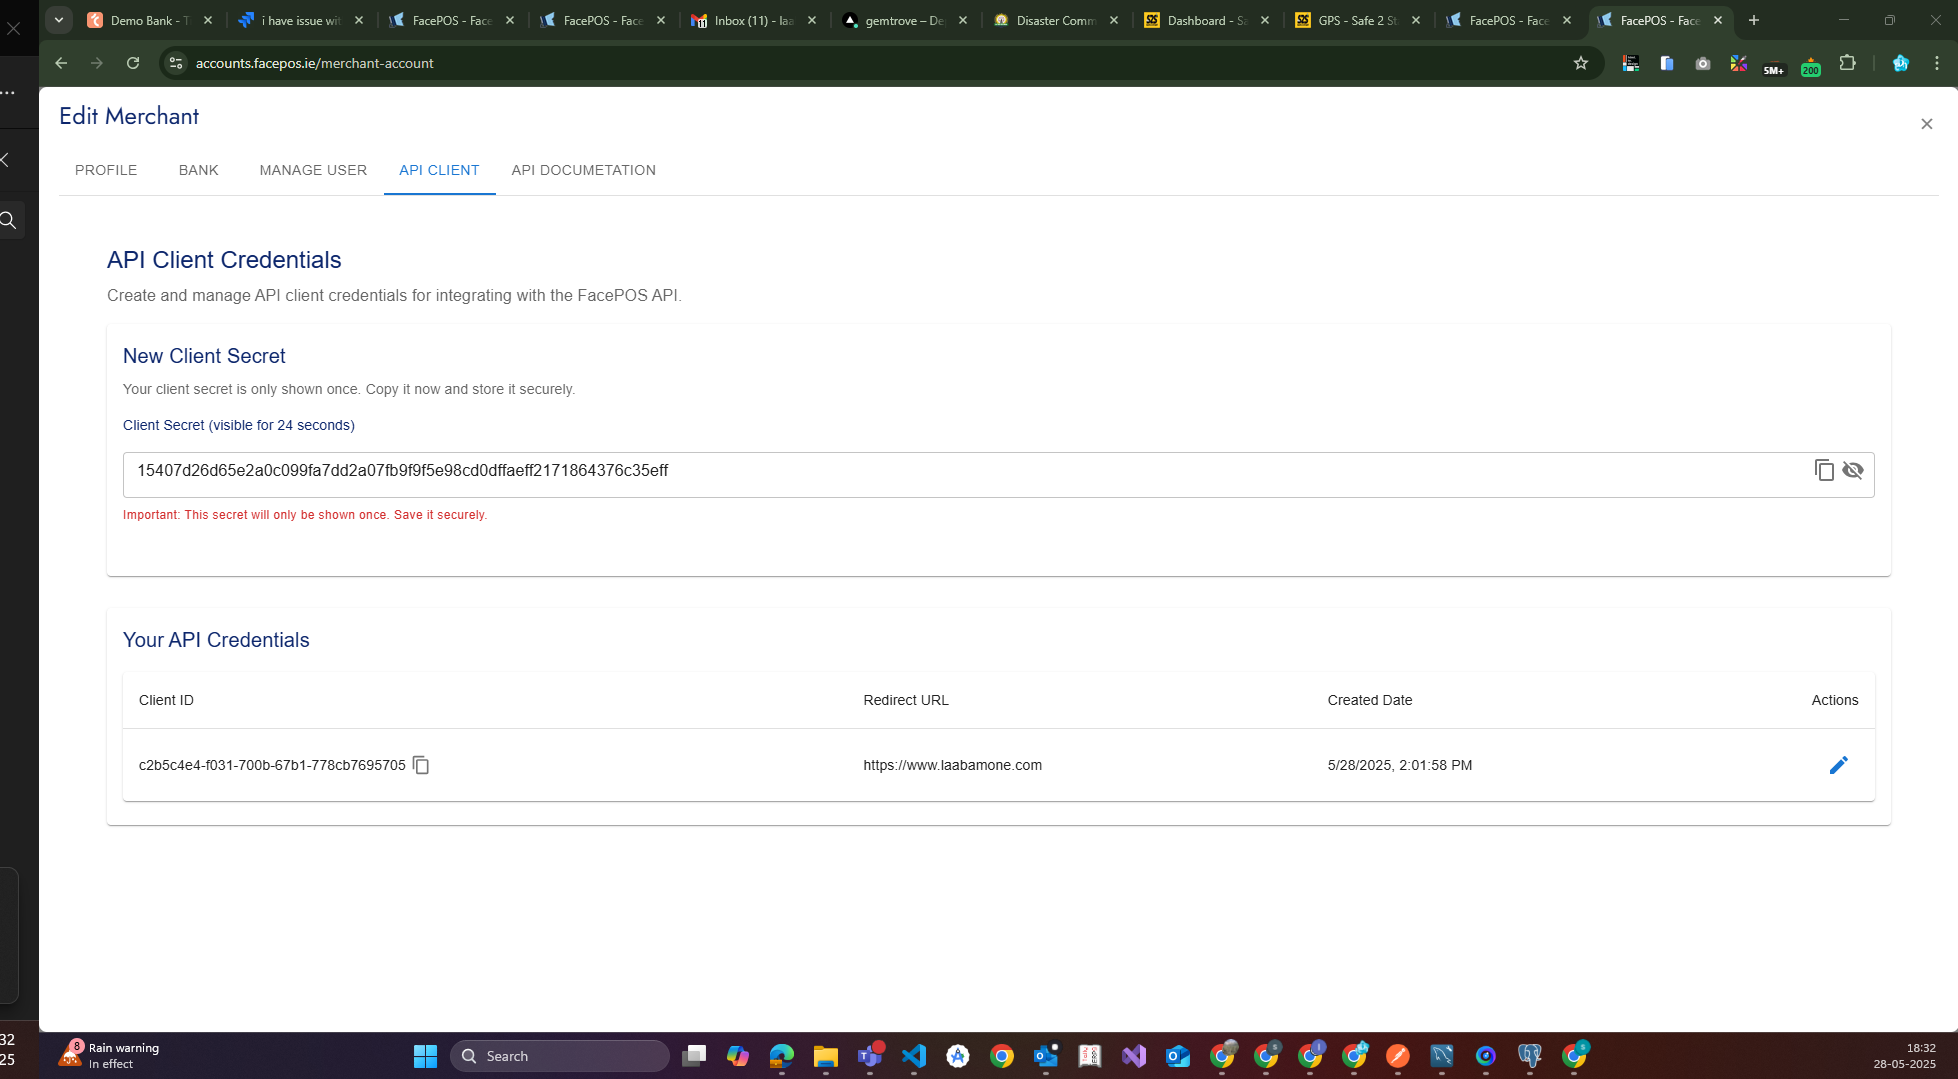
You will receive:
- 🔑 Client Secret (visible only once for 30 seconds)
- 🆔 Client ID
- 🔁 Redirect URL
- 📅 Created Date
Copy and store them securely. You cannot retrieve the Client Secret again.
🧪 Step 5: Generate Token (API)
FacePOS API Integration Documentation
This documentation outlines how to authenticate, initiate a payment, and check its status using the FacePOS API.
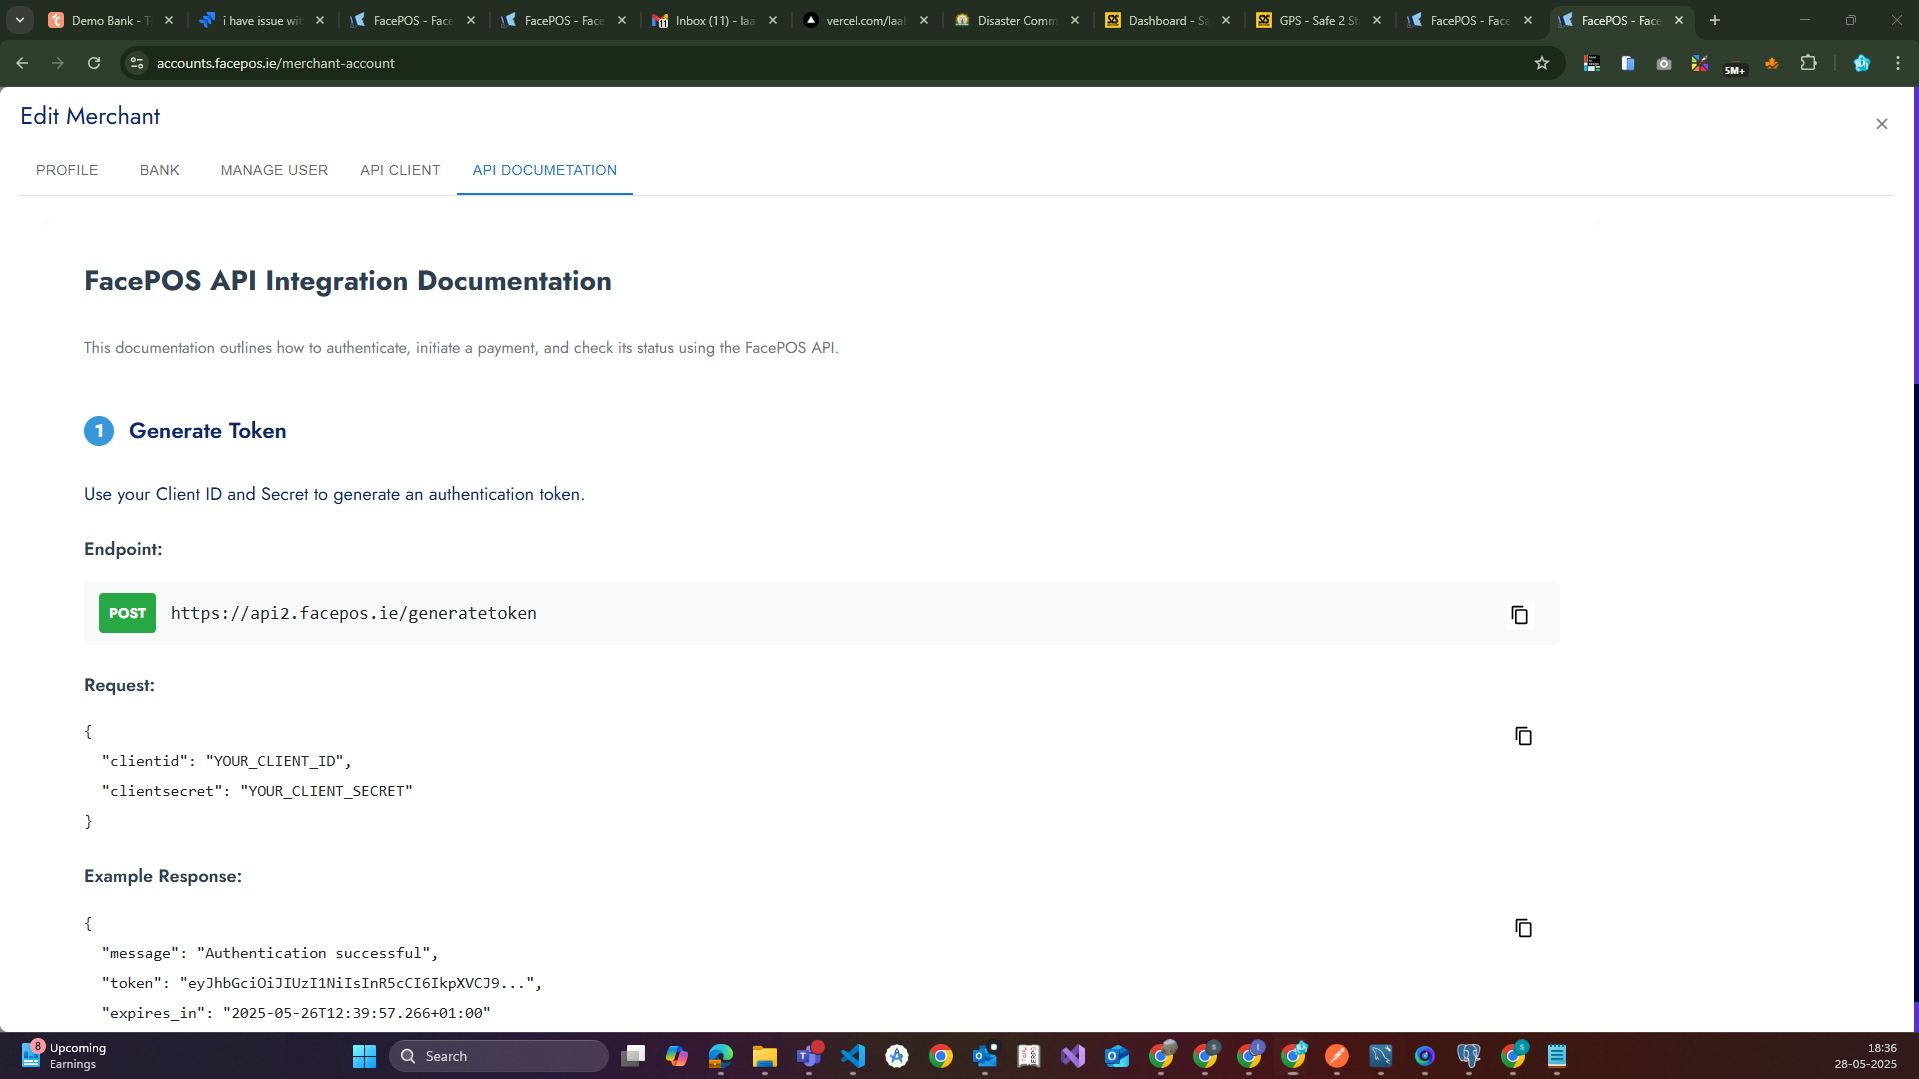
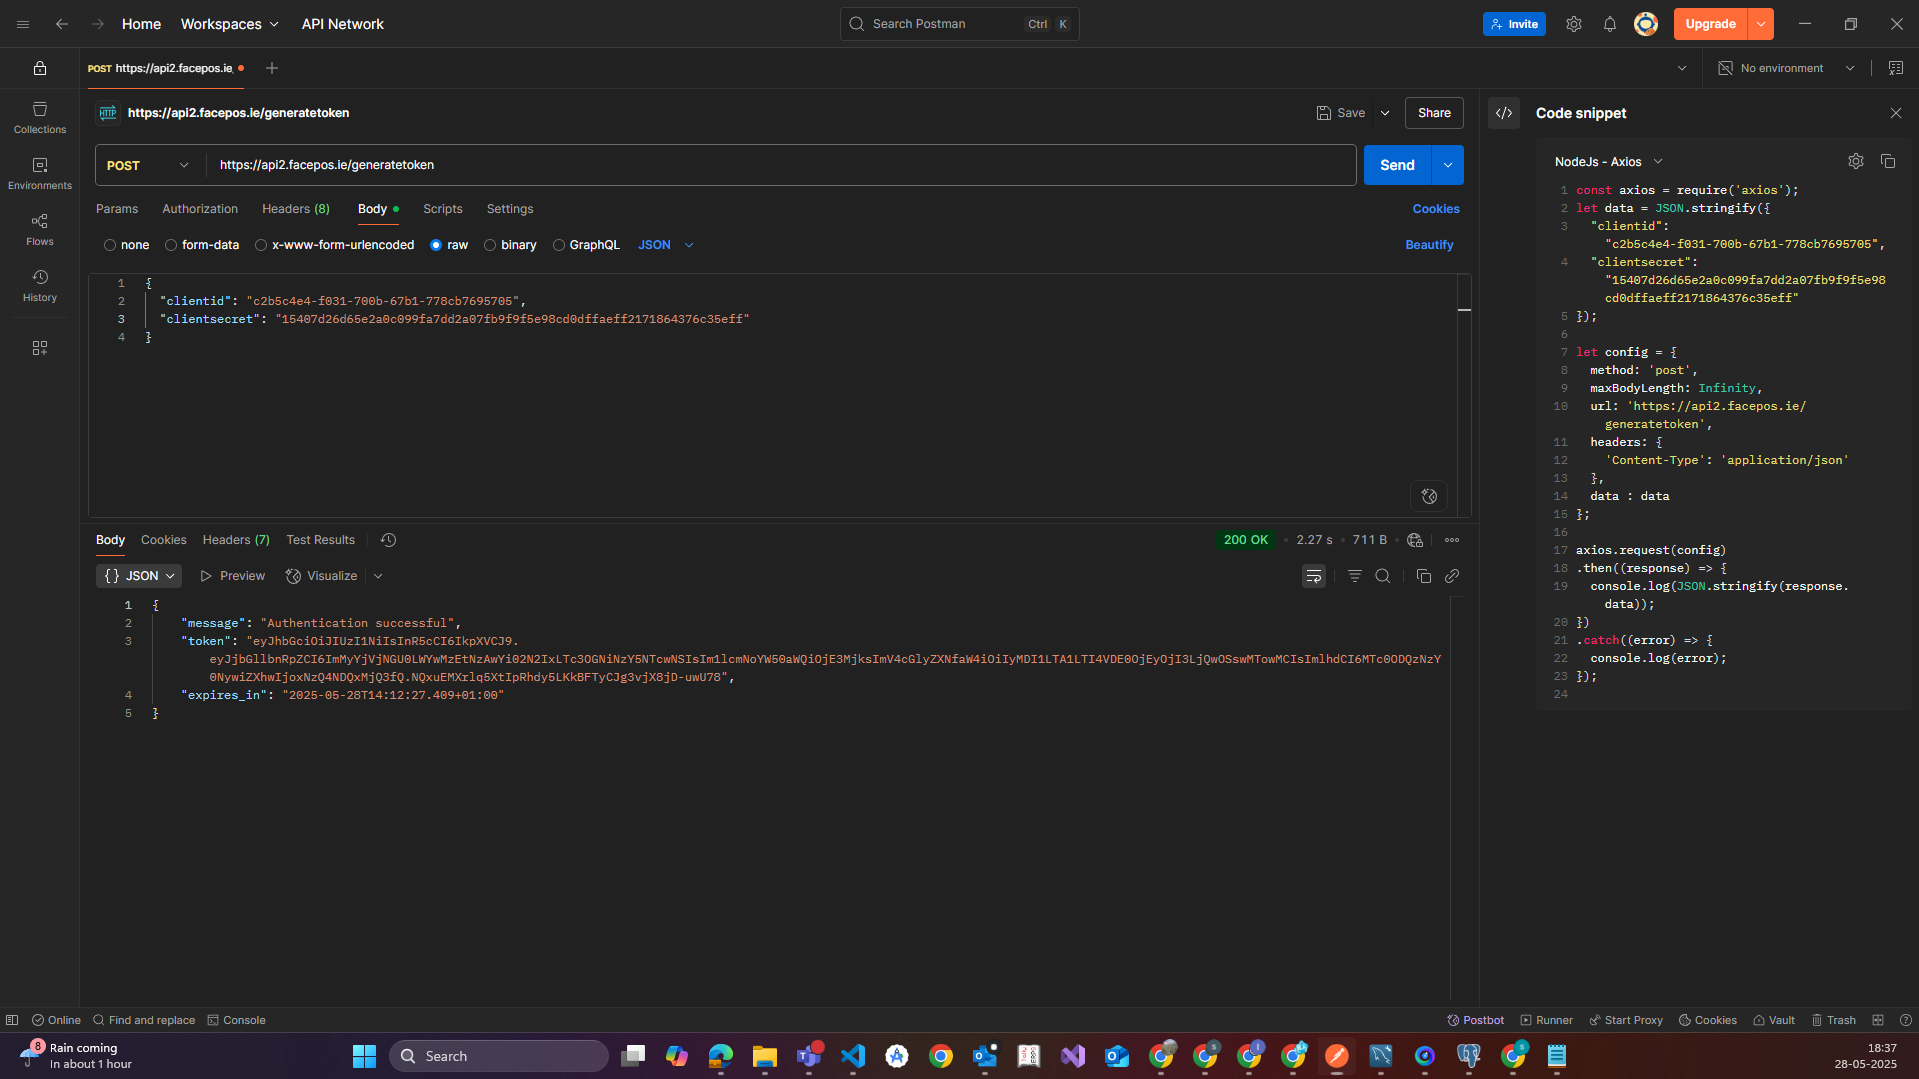
1. Generate Token
Use your Client ID and Secret to generate an authentication token.
POST https://api2.facepos.ie/generatetoken
Request Body
{
  "clientid": "YOUR_CLIENT_ID",
  "clientsecret": "YOUR_CLIENT_SECRET"
}
Example Response
{
  "message": "Authentication successful",
  "token": "eyJhbGciOiJIUzI1NiIsInR5cCI6IkpXVCJ9...",
  "expires_in": "2025-05-26T12:39:57.266+01:00"
}
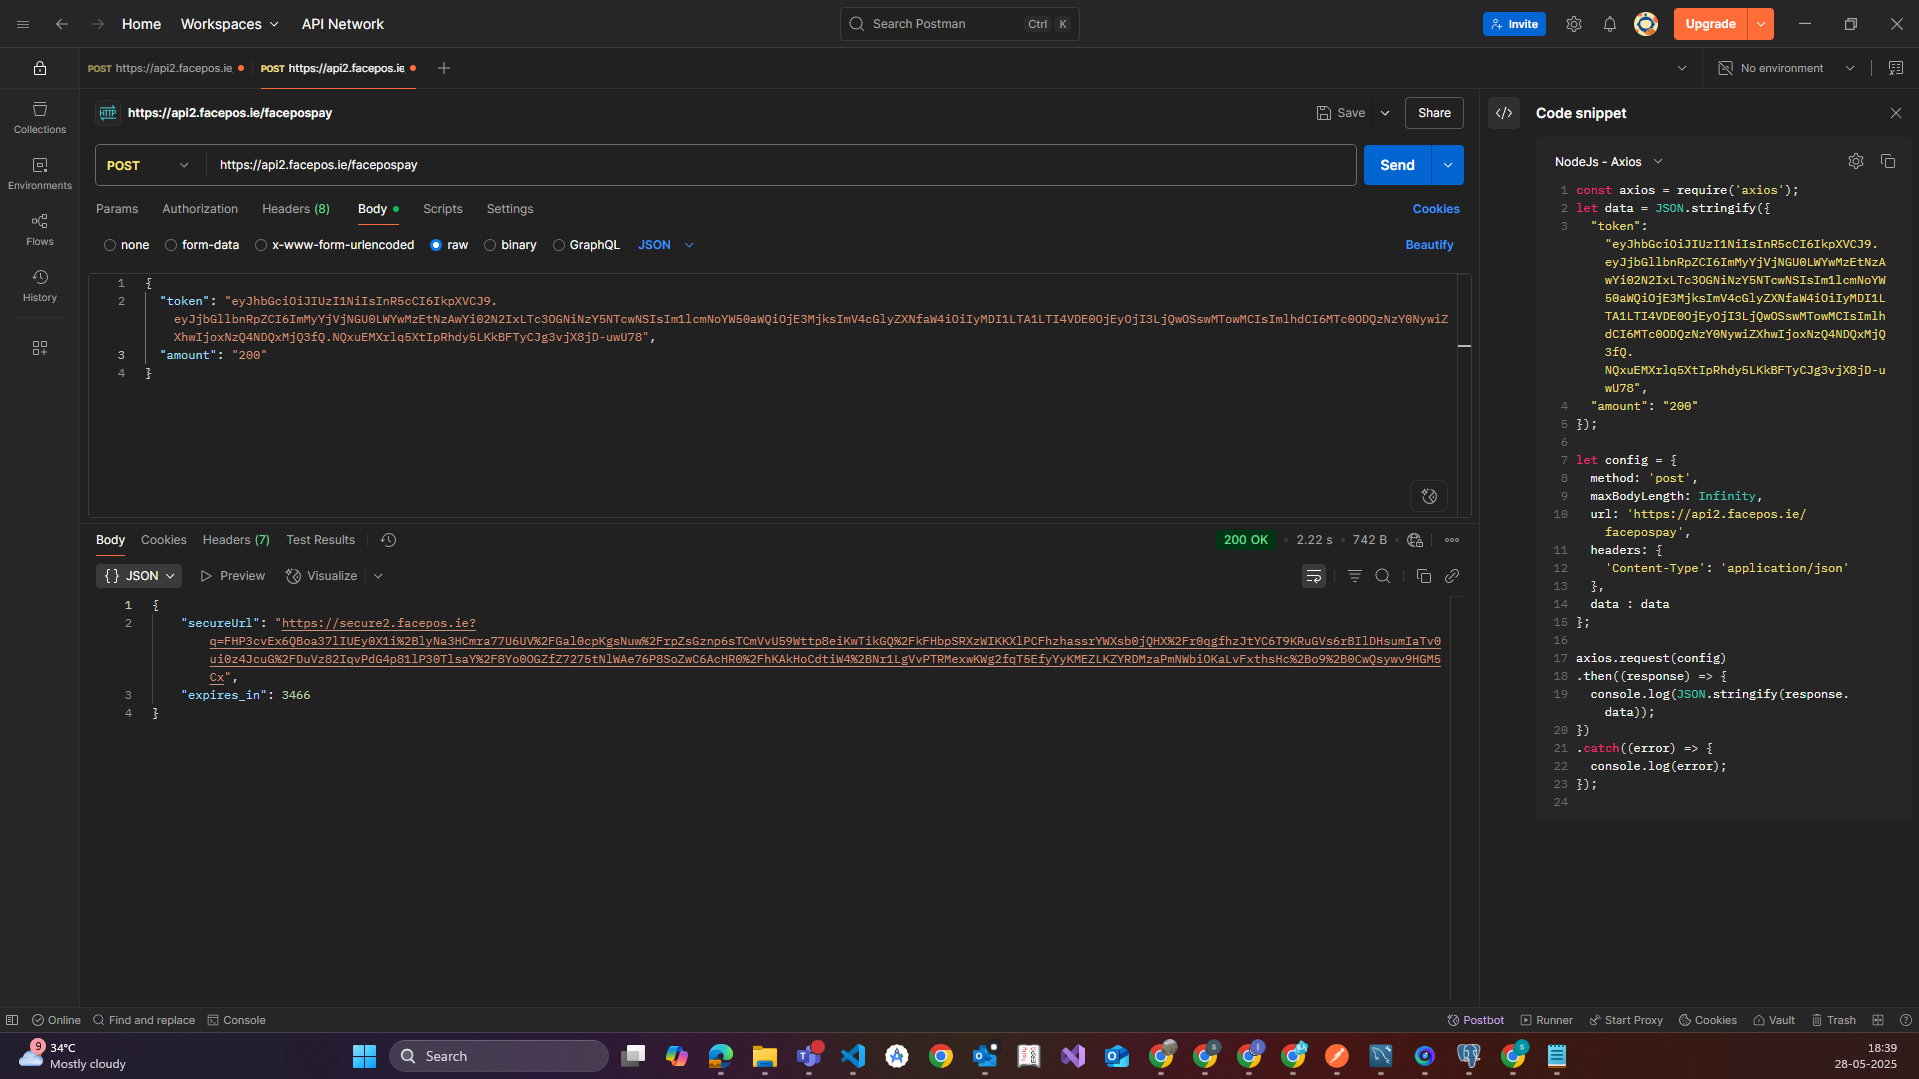
➤ Initiate Payment
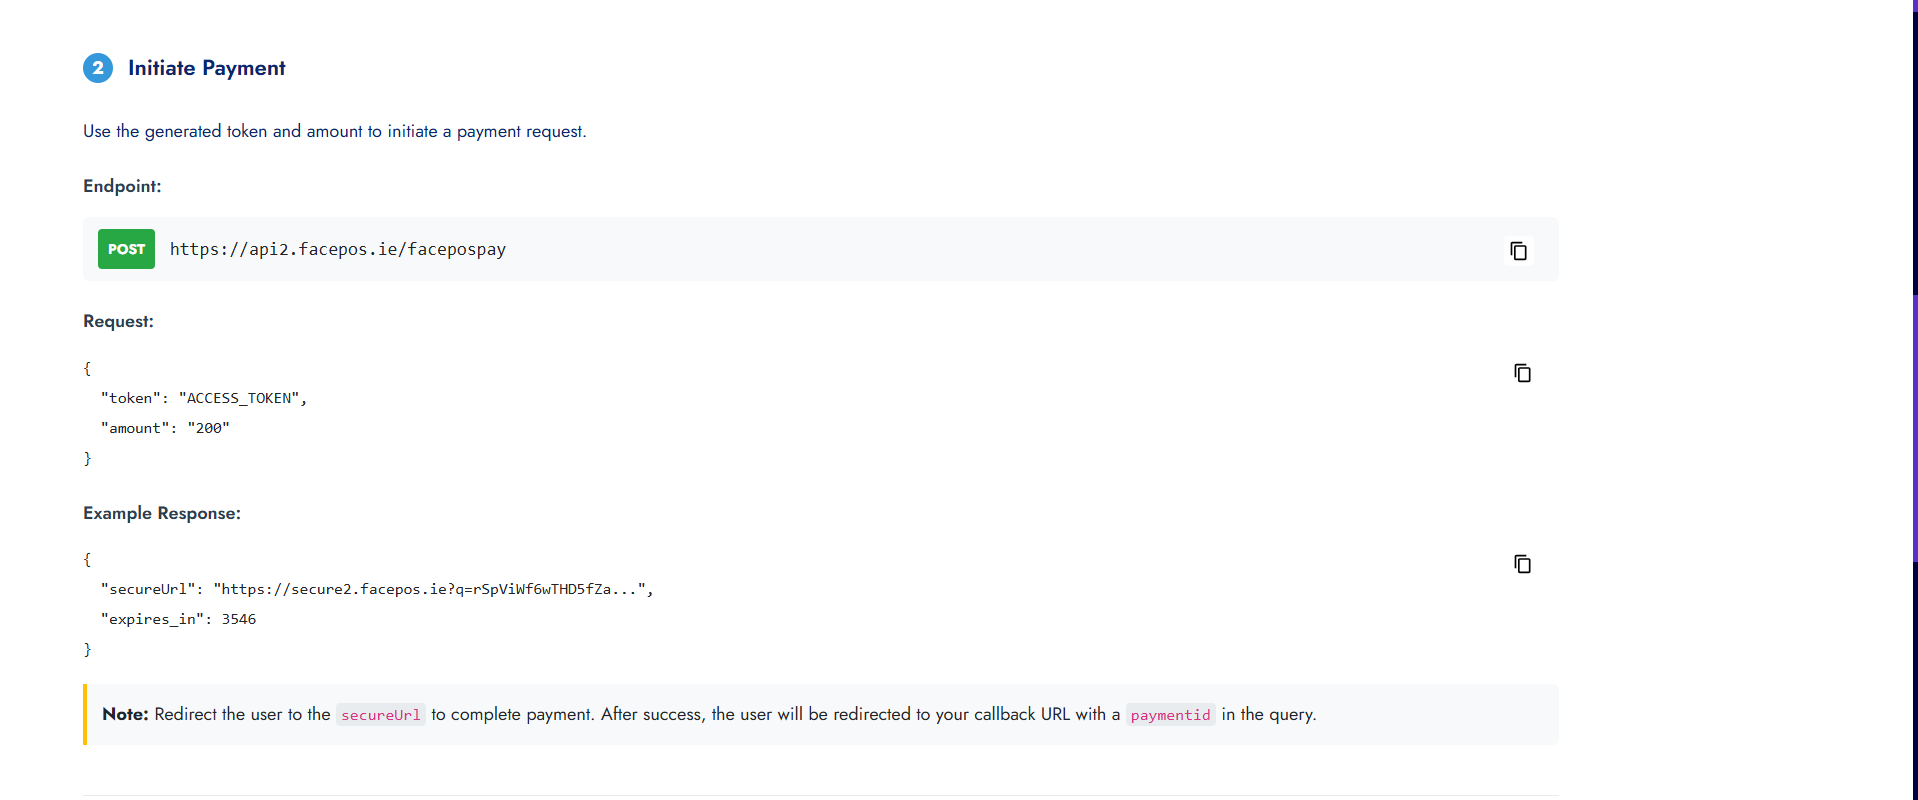
POST https://api2.facepos.ie/facepospay
Headers
{
  "Content-Type": "application/json"
}
Request Body Example
{
  "token": "eyJhbGciOiJIUzI1NiIsInR5cCI6IkpXVCJ9...",
  "amount": "200"
}
Example Response
{
  "secureUrl": "https://secure2.facepos.ie?q=FH3PcXvE6xQBo...",
  "expires_in": 3466
}
🔗 Redirect to FacePOS Payment Page
Use the following JavaScript redirect after receiving secureUrl:
window.location.href = "https://secure2.facepos.ie?q=your_secure_payment_url";🧾 Step 6: FacePOS Secure Payment Page
Once redirected to the secure URL, the user will see the FacePOS secure payment page.

⏳ Step 7: Your Payment is on the Way Page
After the user submits payment details, a “Your payment is on the way” confirmation page will appear.
This confirms that the payment request is being processed.

🔁 Step 8: Auto-Redirect to Your Callback URL
After the intermediate message, FacePOS will automatically redirect the user to your configured callback URL.
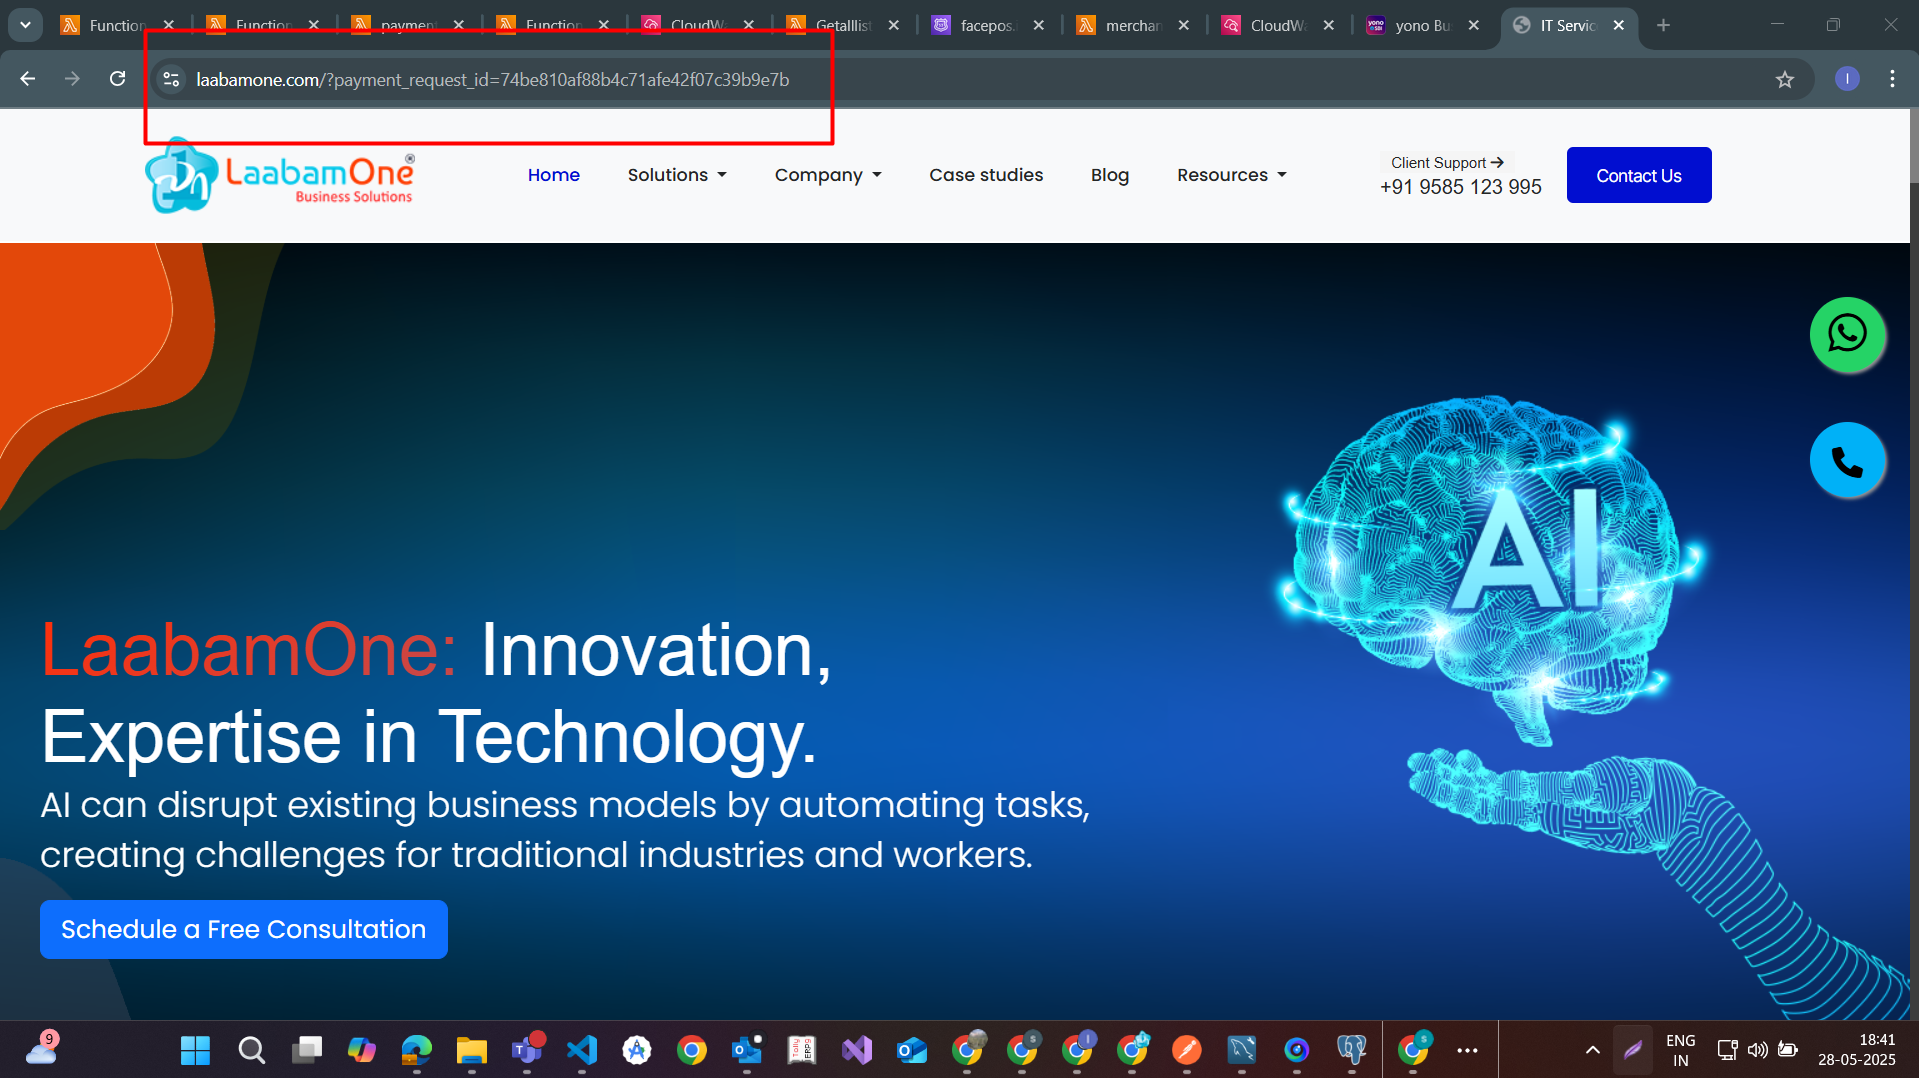
The URL will contain the paymentid as a query parameter:
https://yourwebsite.com/payment-callback?paymentid=abc123xyz
You must now call the Payment Status API (provided by FacePOS) using the paymentid to confirm the final result of the transaction.
Example Request (POST or GET depending on API):
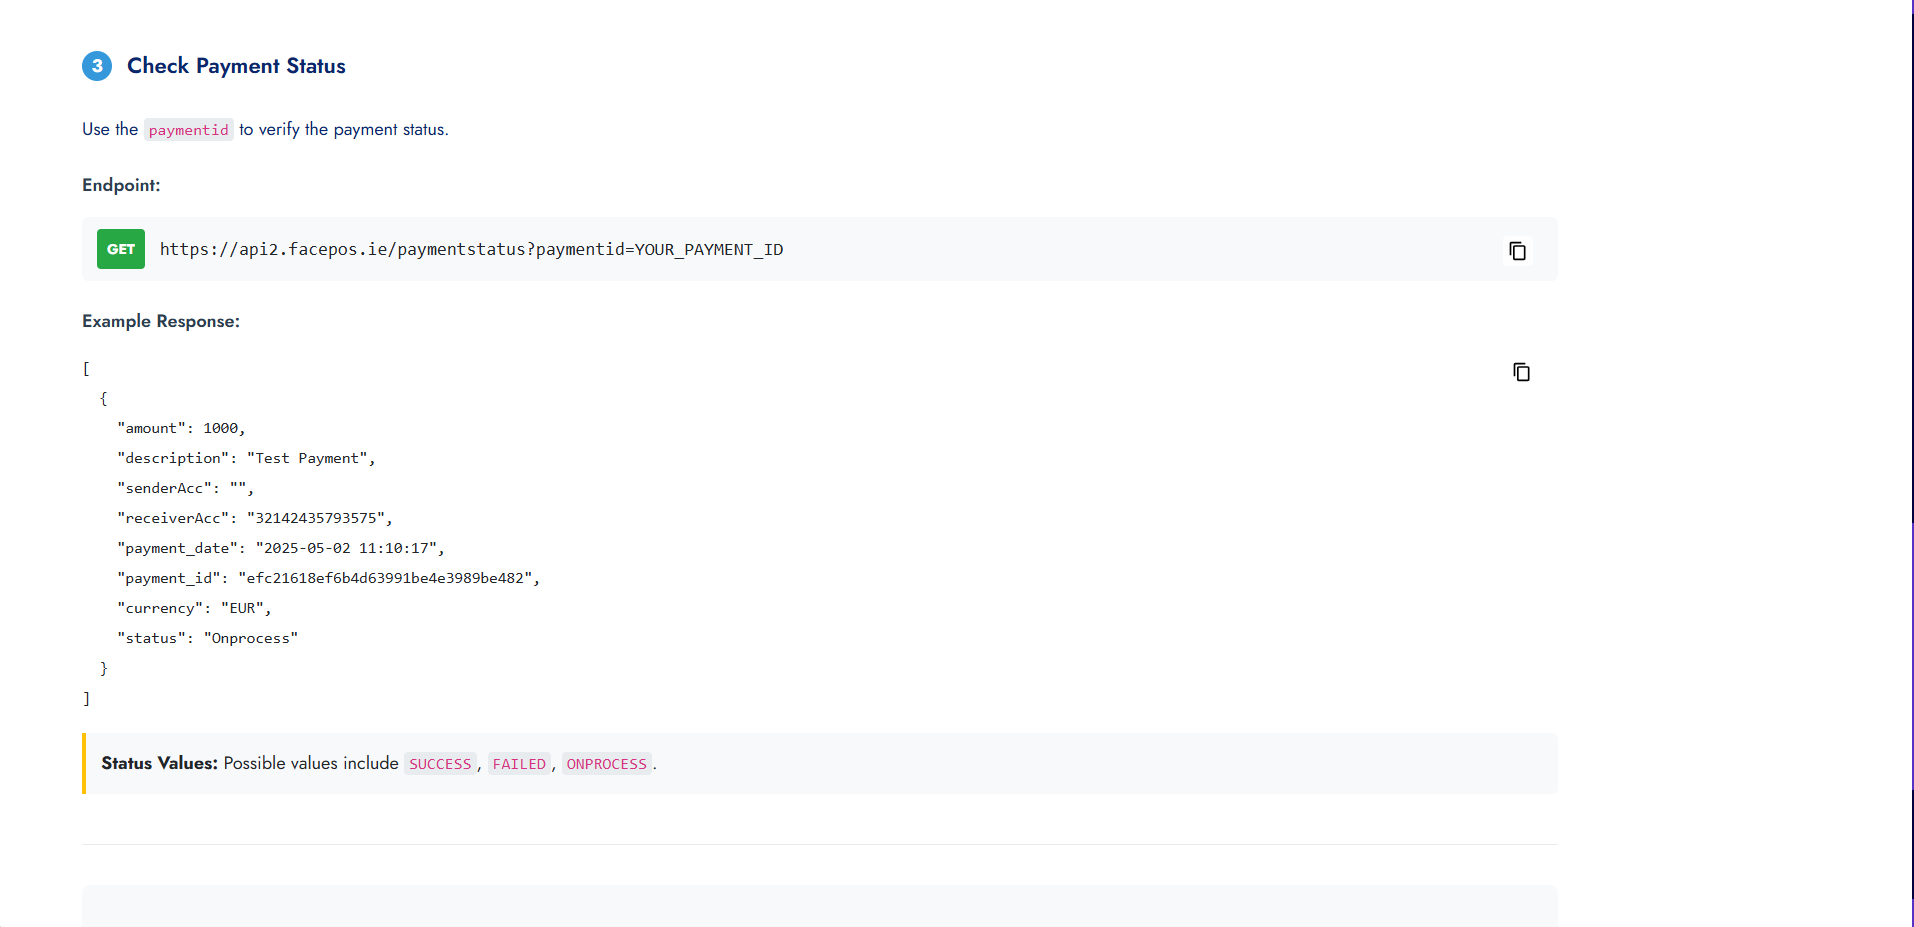
GET https://api2.facepos.ie/paymentstatus?paymentid=YOUR_PAYMENT_ID
Example Response
[
  {
    "amount": 1000,
    "description": "Test Payment",
    "senderAcc": "",
    "receiverAcc": "32142435793575",
    "payment_date": "2025-05-02 11:10:17",
    "payment_id": "efc21618ef6b4d63991be4e3989be482",
    "currency": "EUR",
    "status": "Onprocess"
  }
]
📘 Notes
- Ensure your callback URL is properly registered with FacePOS.
- Always validate the
paymentidresponse before confirming any transaction status.
📊 Step 9: Display Final Status to User
Based on the response from the payment status API, show an appropriate message to the user.
✅ Example UI Messages
- ✅ Payment Successful
- ❌ Payment Failed
- ⏳ Pending / Processing